
When you’re crafting event props, the finish matters just as much as the design. Whether the goal is sleek and modern, whimsical and colourful, or dramatic and textured, the right painting technique transforms raw MDF or plywood into professional, durable showpieces. Below are reliable, production-friendly tips for getting flawless results every time.
1. Start With a Clean Surface
Before any paint touches the material, make sure the surface is clean and dust-free.
For MDF (Medium-Density Fibreboard)
- MDF is highly absorbent, especially on cut edges.
- Wipe down the boards with a dry or slightly damp cloth to remove fine dust from machining.
- Avoid soaking the board—MDF swells easily if it absorbs water.
For Plywood
- Plywood may have minor surface imperfections or grain inconsistencies.
- Sand lightly (180–220 grit) to remove splinters or rough patches.
- Wipe clean with a lint free cloth.
2. Seal the Material
Both MDF and plywood need sealing, but for different reasons.
Sealing MDF
- Use a dedicated MDF sealer, primer, or even watered-down PVA glue (70% glue / 30% water) for edges.
- Apply generously to cut edges, which drink up paint.
- Once dry, lightly sand to smooth the surface back down.
Sealing Plywood
- A good-quality wood primer is usually enough.
- For props requiring a premium finish, apply grain filler to flatten the texture.
- Sand between coats for a smooth, furniture-like surface.
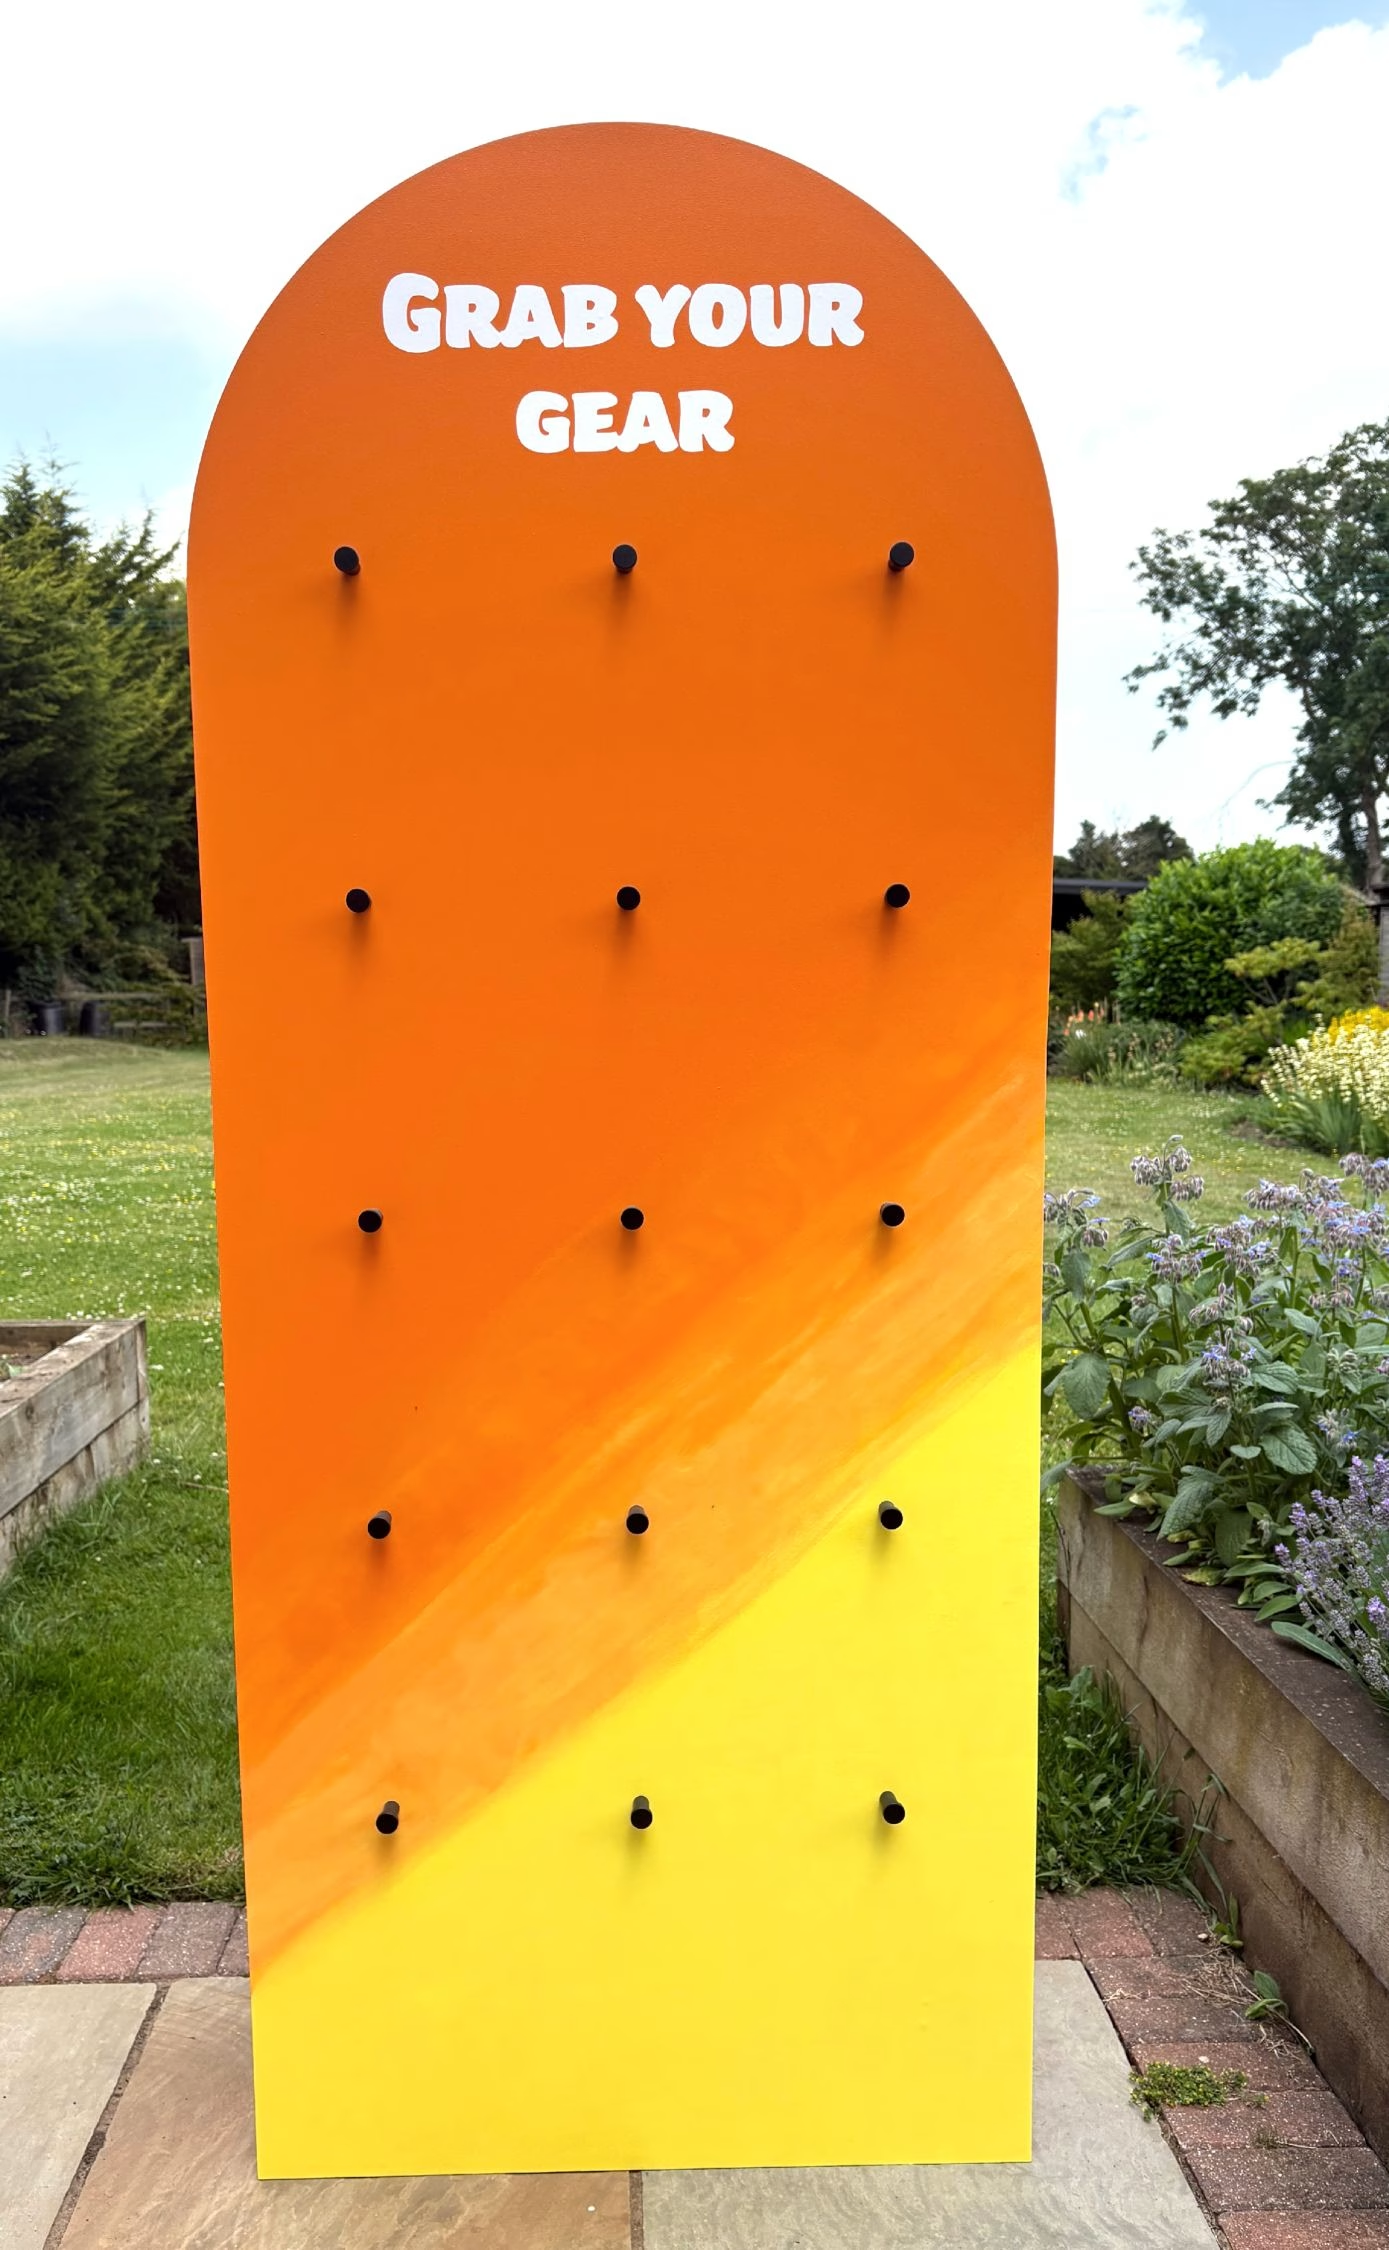
3. Prime for Colour Accuracy and Durability
Primer helps paint adhere and ensures even colour.
- Use high-build primer for a smooth, professional-grade finish on both MDF and ply.
- If you’re painting bright or fluorescent colours, apply white primer to boost vibrancy.
- For darker colours, a grey primer can save paint and deepen the tone.
Allow primer to fully dry, then lightly sand (240–320 grit) to remove texture.
4. Pick the Right Paint for the Job
Event props see handling, transport, and sometimes weather exposure. Choose a paint that performs well without adding unnecessary cost.
Best paint types for props
- Water based paint: Fast-drying, low-odour, good for indoor props.
- Oil or Acrylic-based paints: Durable, glossy, and great for impact-heavy props.
- Spray paint: Ideal for smooth, even finishes or complex shapes.
- Metallic or specialty paints: Use as accents; layer over a base coat for best effect.
Avoid overly watery paint on MDF—it can cause swelling.
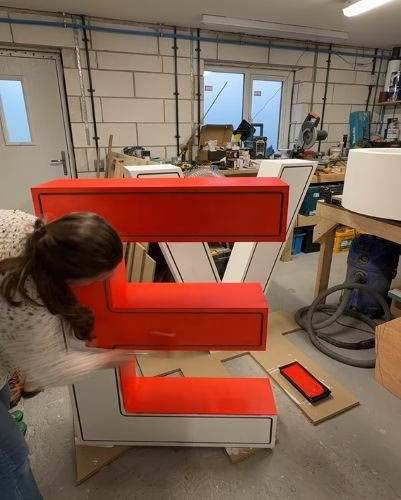
5. Build Up Colour Slowly
Thick coats lead to drips, uneven drying, and peeling later.
- Apply multiple thin coats, letting each one fully dry.
- Sand lightly between coats for a flawless finish.
- For bold tones, expect 2–4 coats depending on the paint quality.
6. Use Foam Rollers and HVLP Sprayers for a Clean Finish
Brushes are fine for detail work, but for most prop surfaces:
- High-density foam rollers leave minimal texture and are perfect for flat areas.
- HVLP (High Volume Low Pressure) sprayers give the most professional, streak-free finish—excellent for large props or items with curves.
If spraying, work in a dust-free, ventilated area with proper PPE.
7. Protect the Finish With a Topcoat
A clear topcoat adds durability and makes props easier to clean and handle.
- Use water-based polyurethane or a water-based clear varnish for a non-yellowing, satin or matte finish.
- Use polyurethane for maximum durability (best for dark colours).
- For high-gloss props, a clear lacquer works beautifully.
Ensure paint is fully cured before sealing—otherwise, the clear coat may cloud or crack.
Other things to consider
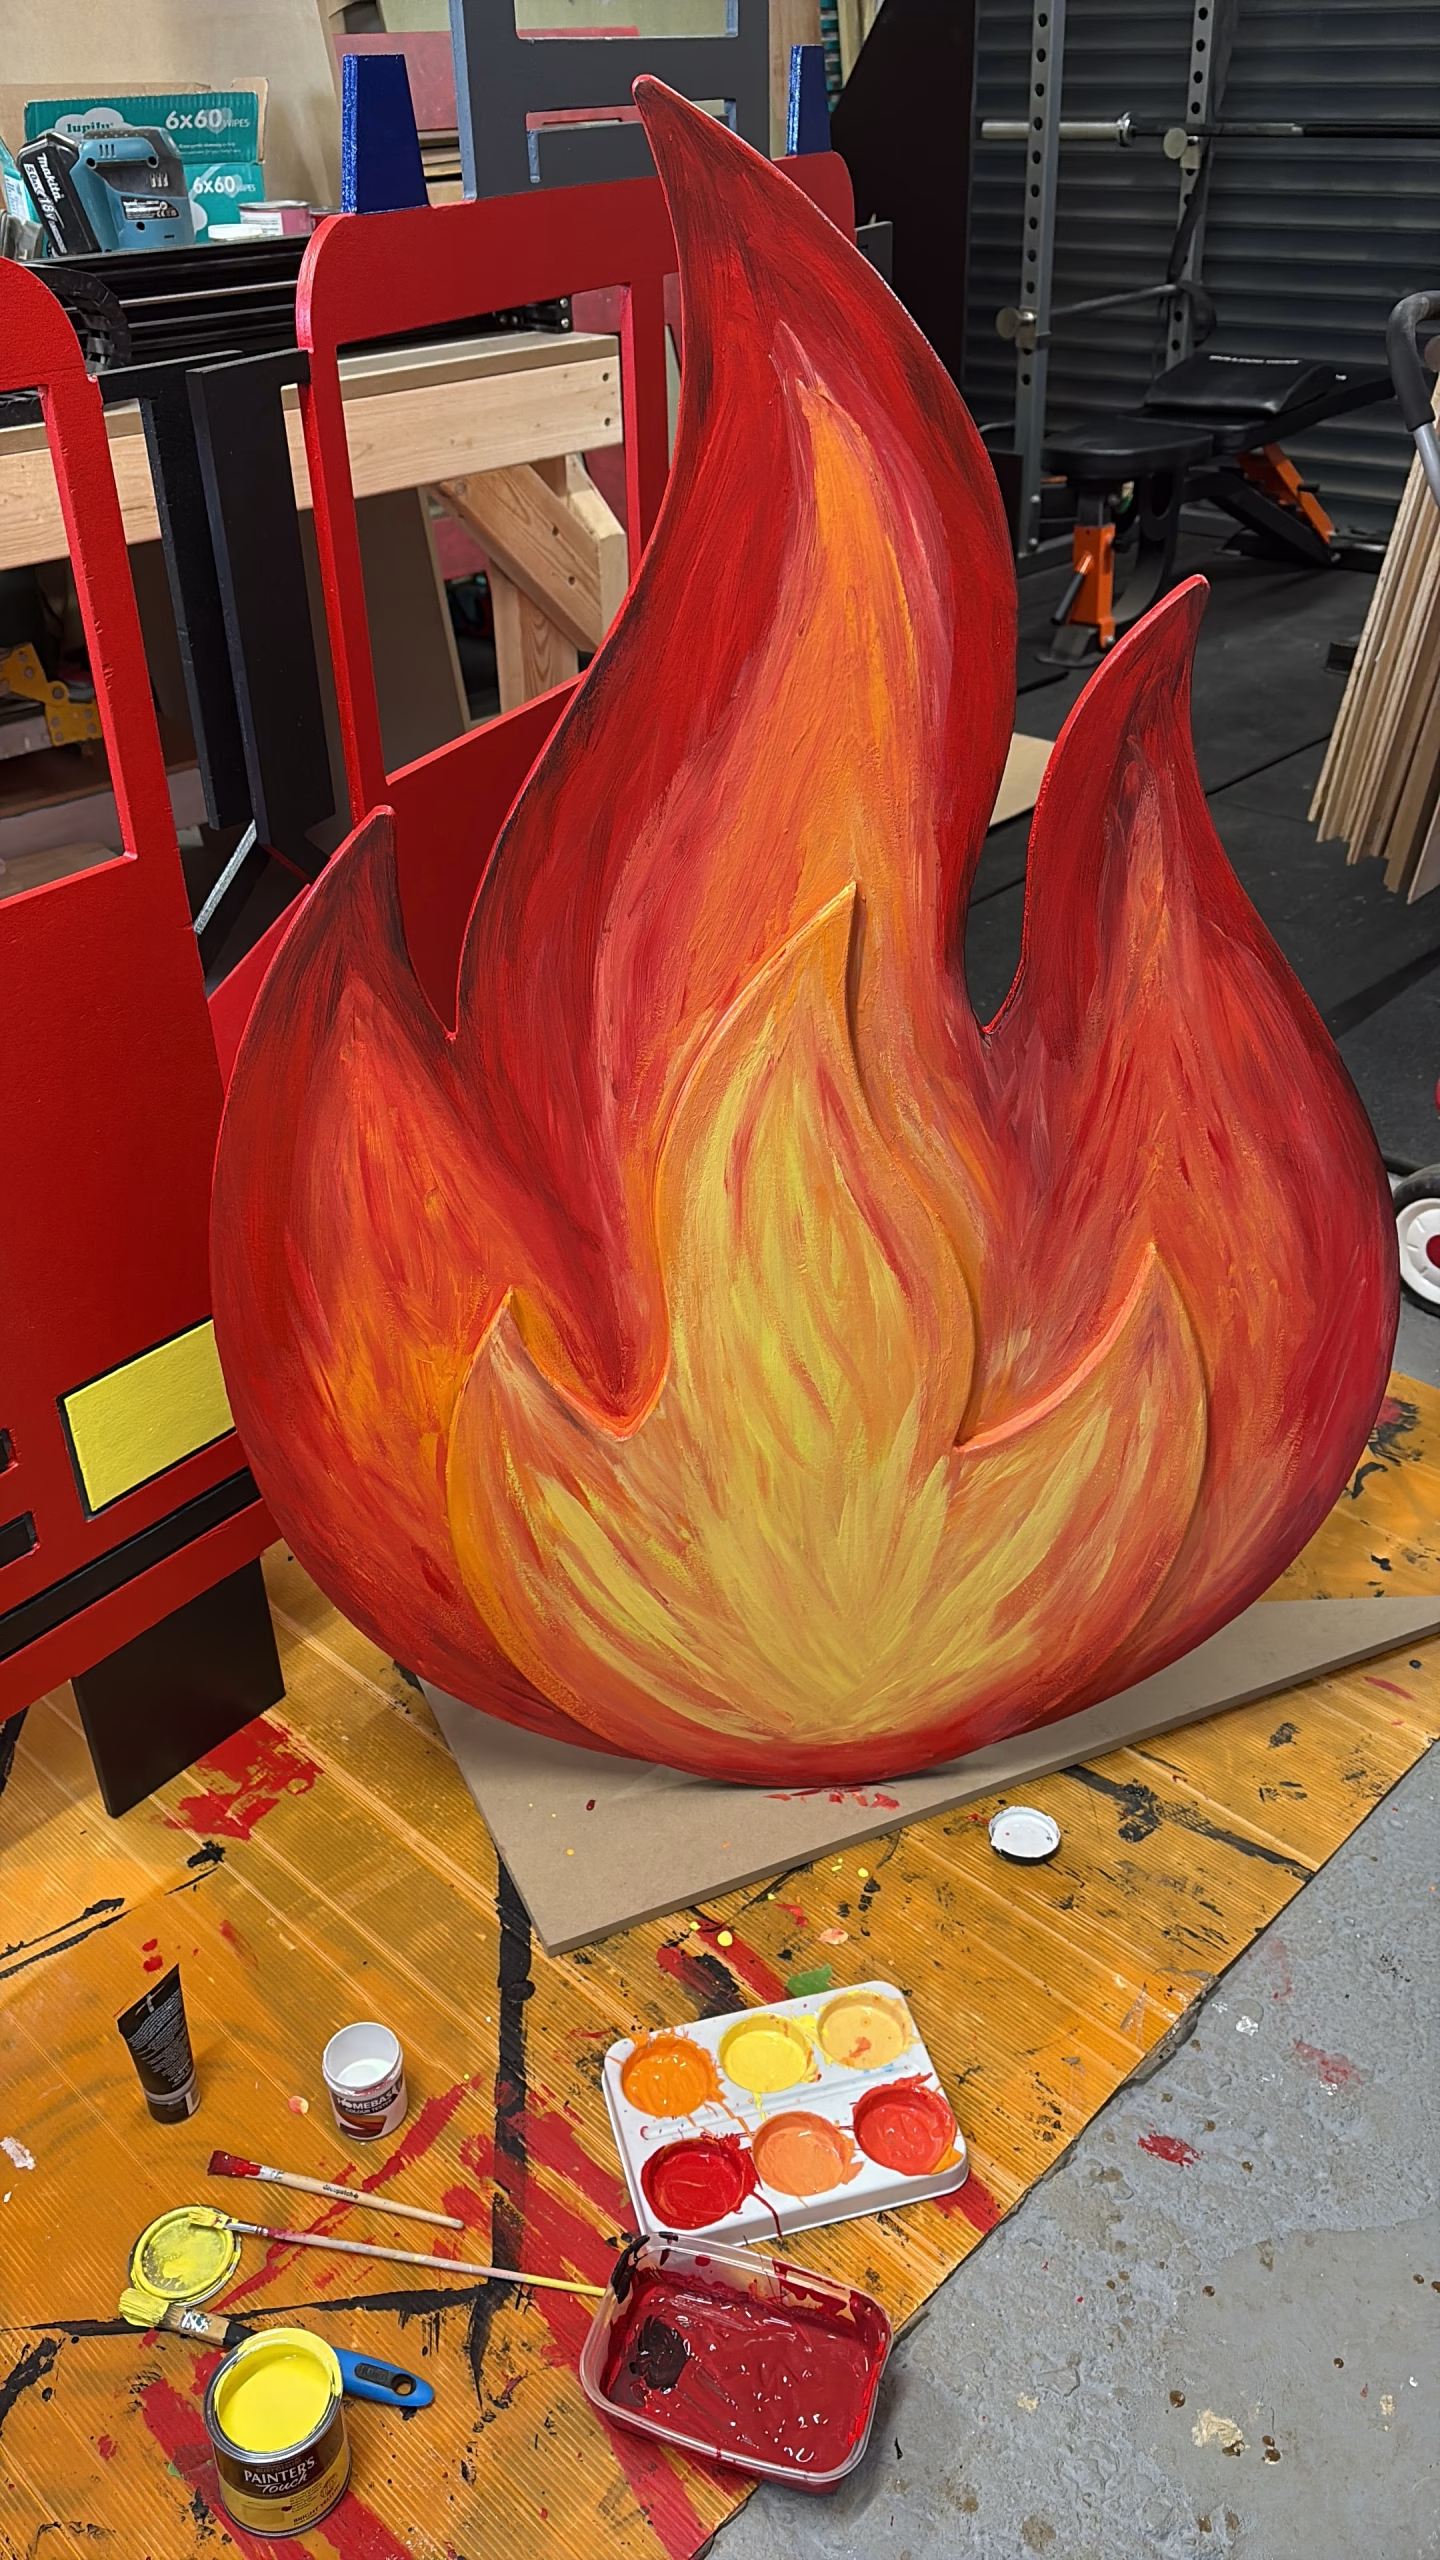
Adding Creative Textures and Effects
Event props often require more than just flat colour. You can elevate the visual style by experimenting with:
- Dry brushing (for faux wood, stone, or aged looks)
- Sponging (soft gradients or organic textures)
- Glazing (semi-transparent layers for depth)
- Metallic leafing (luxury finishes)
- Airbrushing (smooth gradients, shadows, highlights)
These effects photograph extremely well—ideal for social-media-ready props.
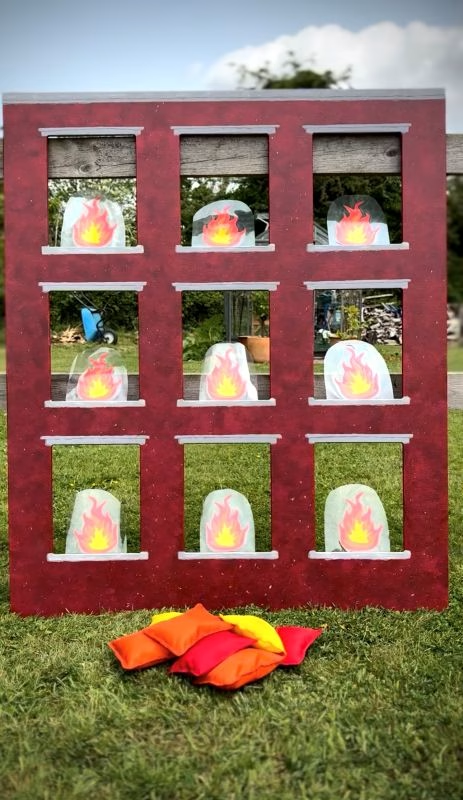
Consider Transport and Wear When Choosing Finishes
If your props are handled often:
- Avoid delicate finishes like chalk paint or fully matte surfaces.
- Add extra topcoat layers.
- Choose mid-gloss or satin finishes—they hide scuffs better.
For outdoor events, select paints rated for exterior use.
Test Before You Commit
Every batch of material behaves slightly differently.
- Always test primer, paint, and sealer on an offcut.
- Check how colours look under event lighting (LEDs can drastically change the tone).
- Confirm adhesion—especially on sealed MDF.
This step saves time and stops costly mistakes on finished pieces.
Final Thoughts
Painting MDF and plywood event props is all about preparation, layering, and choosing the right materials. With good priming, thoughtful technique, and a protective finish, you can turn simple board construction into polished, durable, stage-ready pieces that elevate your event’s entire atmosphere.